Cone matching: the non-negotiable first step
A ceramic glaze is formulated to melt at a specific temperature range. Fire it below that range and it may not fully melt — leaving a rough, porous, or potentially leaching surface. Fire it above the range and it may run off the pot and onto your kiln shelf, or produce crawling and color shifts you didn't intend.
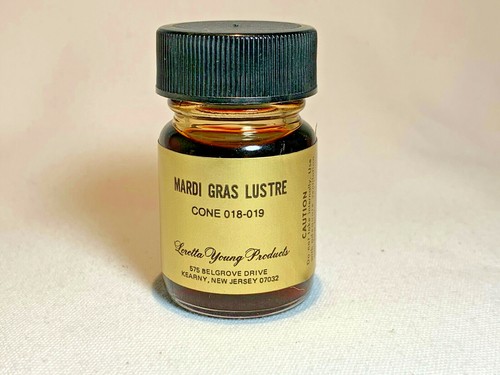
The cone system (explained in detail in the kiln guide) runs from low-fire (cone 06–04, around 1828–1945°F) through mid-fire (cone 5–6, around 2167–2232°F) to high-fire (cone 10, around 2381°F). The glaze's listed cone range must overlap with your kiln's maximum firing temperature and your clay body's fired cone.
| Firing range | Cone | Common clay / glaze pairing |
|---|---|---|
| Low-fire | Cone 06–04 | Terracotta, earthenware clay with low-fire glazes |
| Mid-fire | Cone 5–6 | Stoneware (cone 5–6 rated), most Amaco/Mayco brushing glazes |
| High-fire | Cone 10 | High-fire stoneware, porcelain, Shino and ash glazes |
If you buy a cone 06 low-fire glaze and fire it in a cone 6 kiln, the glaze will likely overfire — colors shift, surfaces may crawl or blister. If you fire a cone 6 glaze in a kiln that only reaches cone 04, the glaze won't fully mature. Neither is recoverable after the fact.
Underglaze vs glaze: different products, different application order
Underglaze and glaze are frequently confused by beginners. They are different products used in different ways:
Underglaze is a colorant suspension applied to greenware (unfired) or bisqueware. It provides color but does not, on its own, produce a glassy surface. It needs a clear glaze applied over it to achieve a fired finish. Underglazes are typically matte or semi-matte when fired without a clear coat on top.
Glaze (also called a fired glaze or clear/colored glaze) contains glassy materials — typically silica, alumina, and fluxes — that melt into a glassy surface at the target cone. A colored glaze is a glaze with colorants added; it does not need anything applied over it.
Application order: underglaze first, on bisqueware, then a clear or semi-transparent glaze over top. Applying glaze first and underglaze second does not produce the same result — the underglaze floats on an already glassy surface and may crawl.
Shopping for ceramic glazes? Browse current eBay listings → (we earn a small commission; your price is unchanged).
Food-safe: what the label means and what it doesn't
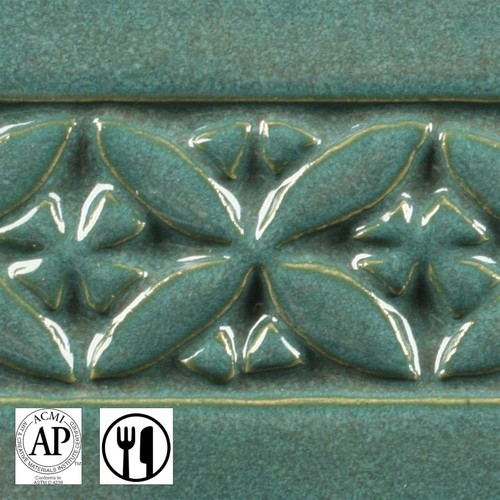
A glaze labeled "food-safe" or "dinnerware-safe" has been tested to leach metals (lead, cadmium, and other heavy metals) below thresholds set by standards like ASTM C738. This matters for plates, mugs, and bowls that contact food or drink.
However, food-safe certification applies to the glaze when fired correctly — at the correct cone, in an electric kiln (not reduction), at the correct application thickness. The same glaze underfired, overfired, or applied too thinly may not meet those standards in the final piece. The certification describes the formulation, not necessarily the specific pot you made.
Practically: if you're making functional dinnerware, buy glazes explicitly labeled food-safe. Avoid glazes labeled "decorative use only" for anything that will contact food. Bright chrome-red and cadmium-based colors are common in decorative-only glazes — these are distinct products from their food-safe-labeled counterparts.
Matte vs gloss finishes
Glaze finish — matte or glossy — is determined by the glaze chemistry. Matte glazes contain more alumina and less silica relative to glossy glazes; they don't fully melt to a smooth surface at the same cone. The result is a satin or matte texture that scatters rather than reflects light.
Matte glazes are not inherently less durable than glossy glazes, but very matte surfaces can be more susceptible to staining in functional use (coffee, wine, oil) because the microscopic surface texture traps pigment. Semi-matte finishes are a practical compromise.
Glossy glazes are more forgiving in daily use: easier to clean, less prone to staining. For functional tableware, a glossy or semi-glossy clear glaze over underglazes is the most practical choice for beginners.
Layering: when it works and when it doesn't
Layering glazes — applying two or more colors or formulations on top of each other — produces effects that neither glaze produces alone. The interaction depends on how the glazes' chemistries interact during melting.
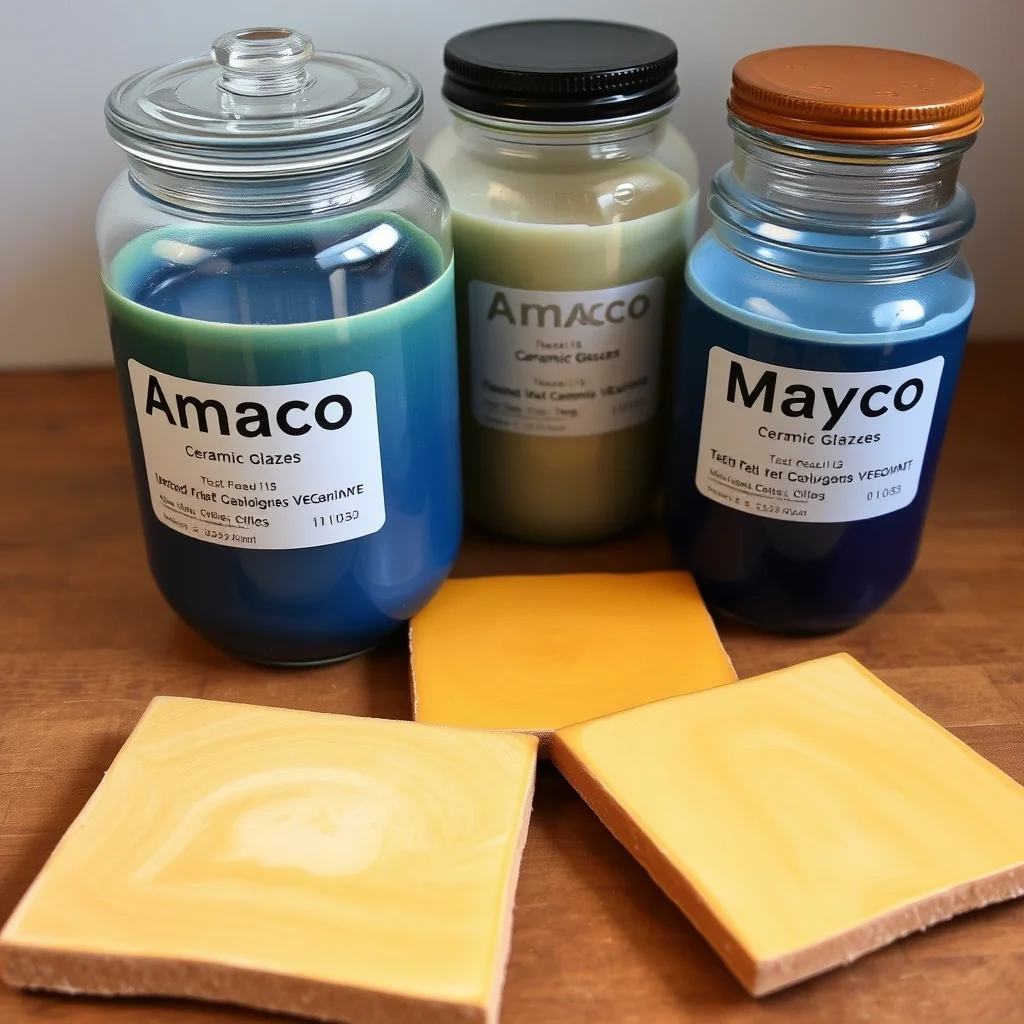
The safest starting point for layering is within a single brand's designed-to-layer line. Amaco's Potter's Choice line and Mayco's Elements line are both designed with layering in mind, and manufacturers publish layering reference charts showing tested combinations. Cross-brand layering can work, but requires testing — same cone rating is necessary but not sufficient.
A common beginner layering mistake: applying two opaque glazes thinking they'll blend. Opaque glazes block each other, so only the top layer shows. Layering works best when at least one layer is translucent or transparent — allowing the lower color to influence the visible result.
Application methods: brushing vs dipping vs pouring
Most commercial studio glazes come in a brushing consistency. Brushing glazes are thicker and need 2–3 coats for full coverage. Dipping glazes are thinner — you dip the entire piece in a bucket of glaze, a faster method for production runs but requires larger quantities of glaze.
Consistency matters more than most beginners realize. If you thin a brushing glaze too much, coverage thins out and the fired surface may be inconsistent. If the glaze thickens from water evaporation in storage, rewetting and stirring brings it back. Always stir glaze thoroughly before use — settled glaze material produces uneven coverage.
Common buying mistakes
- Buying low-fire glaze for a cone 6 kiln — the cone mismatch produces an overfired or underfired surface, neither of which is recoverable after the firing.
- Confusing underglaze and glaze — applying them in the wrong order produces crawling, bare spots, or colors that don't look right.
- Assuming "ceramic glaze" is food-safe — decorative glazes exist specifically for non-functional pieces; read the label.
- Cross-brand layering without testing — same cone, different formulas: always test on tiles before applying to finished pots.
- Applying single coat and expecting full coverage — most brushing glazes need 2–3 coats; single-coat application results in thin coverage that fires unevenly.