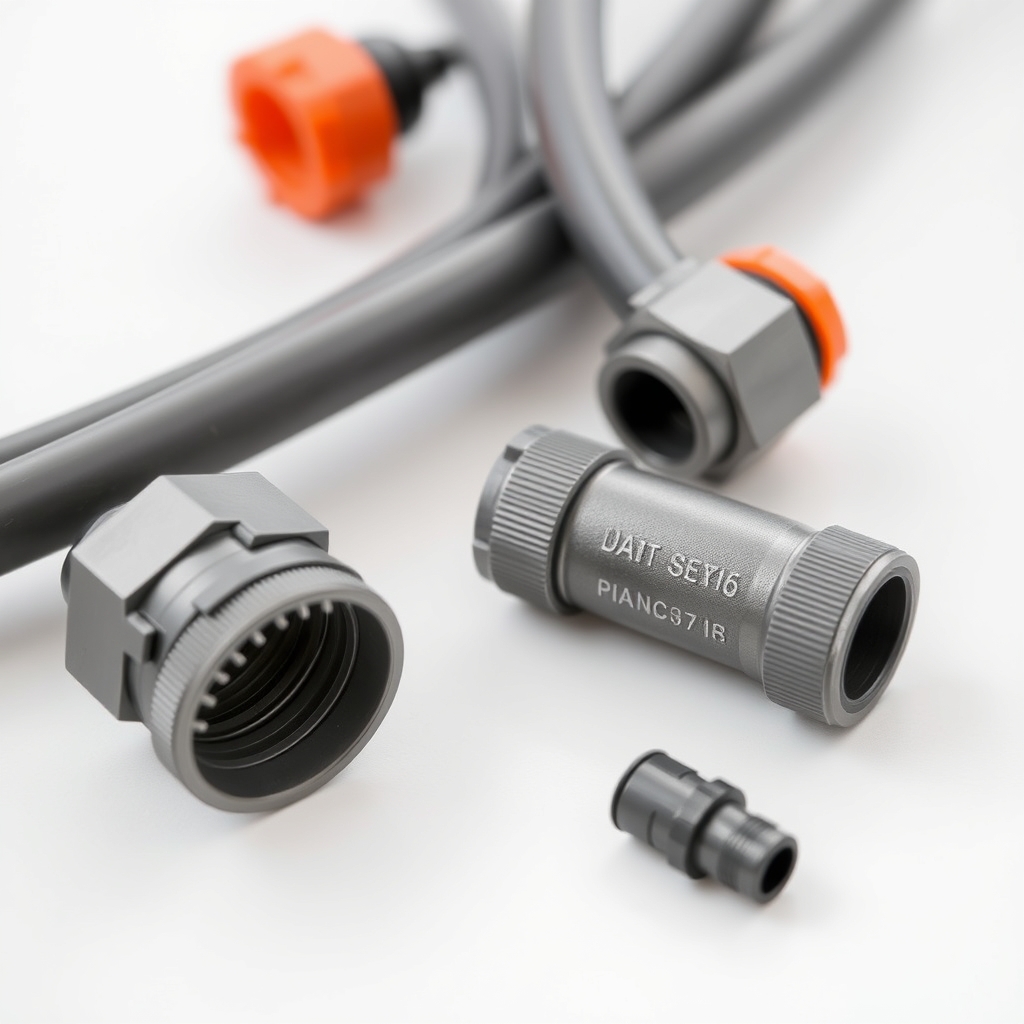
How a drip system works: the component chain
A basic drip irrigation system runs water from a hose bib through five components in sequence: timer → backflow preventer → filter → pressure regulator → main supply line → distribution tubing → emitters. Each component has a job, and skipping any of them creates a predictable failure mode.
The logic is simple: household water pressure is too high for drip emitters and will blow them off or cause uneven distribution. Sediment in municipal water clogs emitters quickly without filtration. A timer makes the whole system hands-off. Understanding that chain makes buying decisions straightforward.
1/2 inch vs 1/4 inch tubing: what each does
These are two different things used in different parts of the system — not interchangeable alternatives.
1/2 inch polyethylene main line
This is the supply line that runs from the water source across or along your growing area. It doesn't deliver water itself; it's the backbone from which distribution tubing branches off. Maximum recommended run length is typically 200 feet or less for a single zone, though flow rate at the far end decreases with distance. Black poly tubing rated at 200 PSI burst strength is standard.
1/4 inch distribution tubing
This runs from the main line to individual emitters at each plant. It's inserted into the main line via a barbed T or straight connector punched through with a hole punch tool. Maximum effective run length is 15–20 feet from the main line; beyond that, pressure is too low to drive consistent emitter flow. Longer runs need additional emitters closer to the main line, not longer 1/4 inch runs.
Emitter types and flow rates
Emitters are rated in GPH (gallons per hour). The right flow rate depends on your soil type and the crop's water demand, not on a single universal recommendation.
| Emitter type | Flow rate | Best use |
|---|---|---|
| Button emitter (fixed) | 0.5, 1, or 2 GPH | Individual plants; simple and inexpensive; clogs more easily |
| Pressure-compensating emitter | 0.5–2 GPH (consistent at varying pressure) | Slopes, long runs, systems with uneven pressure; more reliable |
| Micro-sprinkler / mini-sprayer | 3–15 GPH (area coverage) | Dense plantings like strawberries or ground covers; not suitable for root-zone-only watering |
| Soaker line (porous tubing) | Variable (per foot) | Row crops; delivers water along the entire run rather than at discrete points |
| Adjustable emitter | 0–10+ GPH (variable) | Mixed plantings with different water needs; useful for tuning; less reliable over time than fixed emitters |
For typical vegetable garden plants (tomatoes, peppers, cucumbers), 1 GPH pressure-compensating emitters are a reasonable default. Sandy soil dries faster and may warrant 2 GPH or more frequent run cycles; clay soil absorbs more slowly and benefits from lower flow rates to prevent surface runoff.
Pressure regulators: not optional
Household water pressure is typically 40–80 PSI. Drip systems are designed to operate at 15–25 PSI. At higher pressure, emitters pop off barbed connectors, flow rates become wildly uneven, and tubing connections leak. At the right pressure, emitters drip consistently and barbed connections hold without clamps.
Pressure regulators thread inline between the filter and the main supply line (or immediately after the timer). They're sold in preset pressures (typically 15 or 25 PSI) or sometimes adjustable. For most vegetable garden drip systems, a 25 PSI preset regulator is the right choice — low enough for emitters, high enough to serve moderately long main-line runs.
Shopping for drip irrigation? Browse current eBay listings → (we earn a small commission; your price is unchanged).
Filters: mesh size and placement
Even municipal water contains fine particles that clog drip emitters, particularly 0.5 GPH and 1 GPH units with very small orifices. A Y-filter or disc filter installed upstream of the pressure regulator — and certainly before the emitters — prevents most clogging problems.
Filter mesh is rated in microns or mesh size. For typical drip emitters (orifice size roughly 0.5–1.5 mm), a 155-mesh (100 micron) filter is sufficient. Well water, reclaimed water, or water with high sediment loads may need finer filtration. Filters require periodic cleaning — quarterly for most systems, more often if you're on well water.
Timer features worth paying for
Basic mechanical dial timers (turn to set, run once per day) work but have significant limitations: no rain delay, no multiple-cycle programming, and no battery backup. For a vegetable garden that needs watering on a consistent schedule, a programmable digital timer earns its cost quickly.
Features that matter
- Multiple programs per day: Allows two or three short cycles (e.g., 20 minutes at 6 AM and 6 PM) instead of one long cycle. Shorter, more frequent cycles allow the soil to absorb water between runs, reducing runoff on slopes or in clay soils.
- Rain delay: Lets you pause watering for 24, 48, or 72 hours when it rains, without reprogramming the schedule. A simple but genuinely useful feature.
- Battery life and display: Look for at least 12-month battery life. LCD displays are easier to program than LED-only models in bright outdoor light.
- Bluetooth / app control: Newer models (Orbit B-hyve, Rain Bird, Hunter) allow schedule changes from a phone, which is convenient but not necessary for basic use.
Features that sound useful but aren't
- Soil moisture sensors built into cheap timers: The sensor needs calibrating for your soil type and placement is critical. Low-cost integrated sensors are often less reliable than a simple moisture meter you check manually.
- Very high zone counts on hose-bib timers: Multi-zone systems on a single hose bib require enough water pressure to serve multiple zones simultaneously. Most residential setups do better with a single zone run sequentially.
Laying out a drip system: practical sequence
- Map your beds: Sketch the layout — where the hose bib is, where each bed is, approximately how many plants you'll water per bed. This gives you the total main line length and the number of emitters you need.
- Install the timer at the hose bib: Program your schedule before connecting anything else, while it's easy to reach.
- Add filter and pressure regulator: In that order downstream of the timer. Some kits combine filter and pressure regulator in one unit.
- Run main line to beds: Secure with stakes every 3–5 feet. Cap the far end with an end cap — do not fold or kink tubing to stop flow.
- Punch and insert 1/4 inch distribution tubing: Use a punch tool (not a knife or nail) for clean holes. Route tubing to each plant position and stake emitters 4–6 inches from plant stems.
- Run the system and check flow: Turn on manually and walk the system. Check for leaks at barb connections (rework any that drip at connections rather than at emitter heads), and verify emitters are all dripping, not running or completely blocked.
Winterizing and maintenance
Before the first hard freeze, drain and disconnect the system. Most emitters are damaged by water freezing inside them. Blow compressed air through the main line to clear residual water, or simply coil it and bring it inside. Black poly tubing is UV-stable but becomes brittle when frozen under tension — don't leave it stretched across ground that freezes.
At the start of each season: flush the main line before connecting emitters (cap end off, run water briefly to clear sediment), clean the filter, and check for any tubing that shifted, kinked, or was damaged by freezing or garden tools during the previous season.
Search eBay for drip irrigation components
 Drip irrigation kit
Complete kits with main line, distribution tubing, emitters, and connectors. Verify pressure regulator is included.
Drip irrigation kit
Complete kits with main line, distribution tubing, emitters, and connectors. Verify pressure regulator is included.
 Garden hose timer
Programmable digital timers with rain delay and multiple daily cycles are worth the price premium over basic dial models.
Garden hose timer
Programmable digital timers with rain delay and multiple daily cycles are worth the price premium over basic dial models.
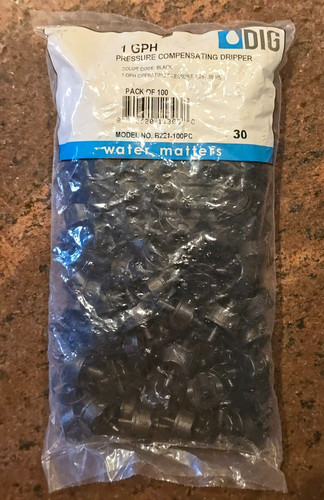 Drip emitters
Pressure-compensating emitters for slopes and long runs; fixed emitters for flat, short runs.
Drip emitters
Pressure-compensating emitters for slopes and long runs; fixed emitters for flat, short runs.