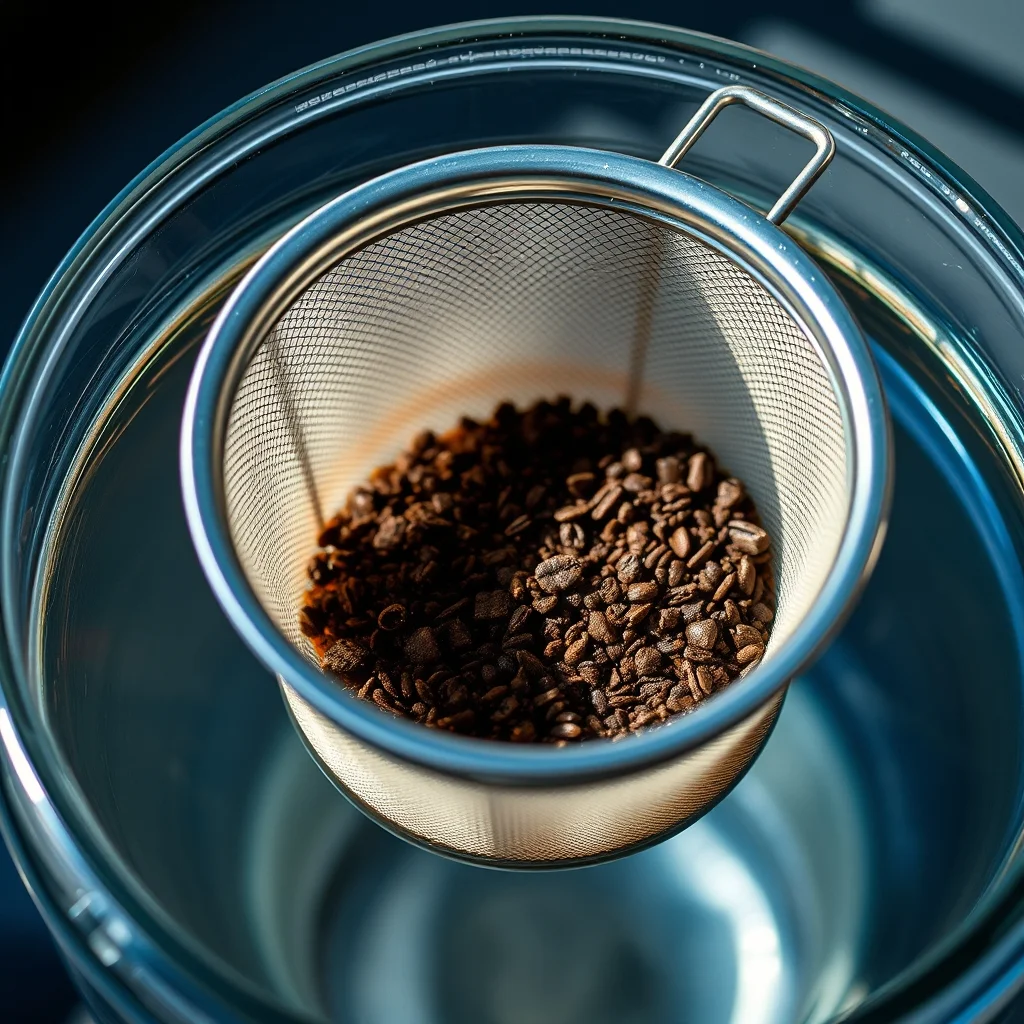
How cold brew works — and why it's different from iced coffee
Cold brew is brewed entirely without heat: coarse-ground coffee steeps in cold or room-temperature water for 12–24 hours. The absence of heat changes the extraction chemistry. Heat extracts certain acids and compounds quickly; cold extraction over long time pulls different compounds and leaves many acids behind. The result is typically lower in perceived acidity, smoother in body, and higher in caffeine per volume (due to concentrate ratios) compared to hot-brewed coffee poured over ice.
Iced coffee (hot coffee brewed directly over ice) is faster and simpler but produces a fundamentally different cup — brighter, more acidic, and closer to the flavor profile of hot coffee. Flash-chill systems are a separate category. This guide covers true cold brew: cold extraction over time.
Immersion vs slow-drip: the two methods
Immersion cold brew
The most common and practical method for home use. Coffee grounds and water are combined in a vessel, steeped for 12–24 hours in the refrigerator (or at room temperature for faster extraction), then filtered. The grounds are fully immersed in water throughout the steep, similar to French press brewing but cold and much longer.
Immersion produces a consistent, full-bodied brew. The variables that affect flavor are primarily ratio (coffee to water) and steep time. It's forgiving — a few extra hours of steep typically doesn't ruin the batch; it may produce a slightly stronger concentrate.
Slow-drip cold brew
Slow-drip (also called Kyoto-style or Dutch cold brew) passes cold water through a bed of coffee grounds one drop at a time, over 8–24 hours. Dedicated slow-drip towers control the drip rate with a valve. The result is different from immersion — often described as brighter and more complex because the continuous fresh-water contact behaves more like a long pour-over than a full-immersion steep.
Slow-drip is more equipment-intensive, harder to set up, takes up more counter space, and requires precise drip rate adjustment. The flavor differences versus immersion are real but subtle and brew-dependent. For most home users, immersion is the better starting point — slow-drip is for enthusiasts who want to explore the method specifically.
| Feature | Immersion | Slow-drip |
|---|---|---|
| Ease of setup | Simple | Fussy (drip rate requires adjustment) |
| Equipment cost | $15–$80 | $60–$300+ |
| Steep time | 12–24 hours | 8–24 hours (variable) |
| Cup character | Full body, smooth, less acidity | Brighter, more complex |
| Counter space | Minimal | Significant (tower) |
| Mess potential | Low with good filter design | Low once calibrated; higher setup risk |
Capacity: batch size and fridge space
Cold brew yields approximately 60–70% of the water volume added after filtering out the grounds. A 1-quart (950ml) system yields roughly 600–650ml of finished cold brew concentrate, or 400–500ml of regular-strength brew depending on recipe.
Common capacity options:
- 1-quart (950ml) / 32 oz: Yields 6–8 servings of concentrate (diluted 1:1). Good for 1 person drinking cold brew daily, or 2 people drinking it occasionally.
- 2-quart (1.9L) / 64 oz: Yields 12–15 servings. Good for households, or anyone wanting less frequent brewing cycles.
- 1-gallon / 128 oz: Batch brewing territory. Practical if you have the fridge space and want to brew once a week.
Shelf life of cold brew: 1–2 weeks refrigerated for concentrate; 5–7 days for diluted brew. Brewing larger batches is worthwhile only if you consume within this window.
Filtration: mesh vs paper vs dual-filter systems
Mesh filter (stainless steel)
Most dedicated cold brew makers use a stainless mesh filter — a cylindrical basket or screen that holds the grounds and is removed after steeping. Mesh passes fine particles, which settle to the bottom of the finished brew over time. The sediment is usually manageable with a coarse enough grind; it doesn't significantly affect taste unless you stir the settled concentrate before drinking.
Mesh filters are reusable, low-waste, and easy to clean. They're the standard for home cold brew systems and work well for most uses. The quality of the mesh (screen openings, frame construction) varies significantly by product — tight fine mesh produces cleaner output than coarse mesh.
Paper filter (bag or disk)
Some systems include a secondary paper filter step or paper filter bags to hold grounds. Paper removes essentially all fine particles for a clean, sediment-free concentrate. The tradeoff is slightly reduced body and oil content (same mechanism as paper-filtered hot coffee). Paper filters also add ongoing consumable cost and waste.
Some systems use a paper filter bag to contain the grounds (similar to a large tea bag), which simplifies cleanup — the entire bag and grounds are removed without draining through a screen. The filtration quality depends on the paper porosity.
Dual-filter or hybrid systems
Some cold brew makers use both a mesh filter (to hold grounds) and a secondary fine filter (paper or fine mesh) for additional clarity. These produce the cleanest output with the least sediment, at slightly higher upfront cost. Useful if sediment in cold brew bothers you or if you want to use the concentrate in cocktails where visual clarity matters.
Shopping for cold brew gear? Browse current eBay listings → (we earn a small commission; your price is unchanged).
Concentrate vs regular-strength brewing
Cold brew is typically made as a concentrate, which extends fridge life and lets you dilute to taste. A standard cold brew concentrate uses a 1:4 to 1:8 coffee-to-water ratio by weight (much higher than hot coffee's typical 1:16).
- 1:4 ratio (very strong concentrate): Dilute 1:2 with water or milk before drinking. Strong flavor, high caffeine, maximum shelf life.
- 1:6 to 1:8 ratio (moderate concentrate): Dilute 1:1 with water or ice. Most common home recipe range.
- 1:16 to 1:20 ratio (ready-to-drink strength): Brew at drinking strength, no dilution needed. Requires larger batch for the same number of servings.
Concentrate brewing is more space-efficient in the fridge during steeping and keeps longer. The choice depends on your serving preference — some people prefer the control of diluting to taste; others want cold brew they can pour directly without measuring.
Steep time: how long and where to steep
Temperature during steep affects extraction rate and flavor:
- Refrigerator (4°C / 39°F): 18–24 hours. Slower extraction, often described as cleaner flavor with less bitterness risk. Requires planning ahead.
- Room temperature (18–22°C / 64–72°F): 12–16 hours. Faster extraction, slightly more bitterness risk at the long end. Convenient if your fridge space is limited during steeping.
The risk of over-extraction with cold brew is lower than with hot methods — even 24+ hours at room temperature typically produces drinkable coffee rather than the severe bitterness you'd get over-extracting with heat. However, very long room-temperature steeps (30+ hours) can push toward astringency and off-flavors.
Design features that affect daily use
Wide mouth for loading: Getting coarse grounds into a narrow vessel is messy. Wide-mouth systems are significantly easier to fill. If the opening is narrower than the diameter of a standard mason jar, expect to funnel the grounds in carefully.
Drip-free filter removal: After steeping, the grounds filter needs to come out without dripping wet grounds all over the pitcher or counter. Good designs have a filter that drains back into the vessel when lifted, or includes a drip-catch mechanism. This is the most commonly complained-about design failure in budget cold brew makers.
Lid fit: A loose lid means potential spills and flavor contamination from fridge odors during the steep. Check that the lid seals reasonably well without being so tight that it's hard to open.
Pitcher shape: Tall narrow pitchers fit in standard fridge door shelves; short wide ones need fridge shelf space. Consider your specific fridge configuration before buying.
The honest bottom line
For getting started: a mason jar plus a reusable mesh filter insert or cheesecloth works and costs very little. The result is slightly messier to filter but functionally identical to a dedicated system. If you already have wide-mouth mason jars, this is a zero-cost starting point.
A dedicated cold brew pitcher ($25–$45) is worth buying once you've confirmed you want cold brew as part of your regular routine. The drip-free filter design and fridge-storage-ready form factor simplify the process meaningfully over the mason-jar method.
Slow-drip systems are only worth it if you specifically want to explore that brewing method and are willing to invest time in calibration. The flavor differences don't justify the cost or complexity for most home users.
The most common mistake: under-dosing coffee relative to water and then over-steeping to compensate. Start with a 1:6 ratio by weight (coffee to water) and 18 hours in the fridge. Adjust ratio before adjusting steep time.
Search eBay for cold brew gear
 Cold brew coffee maker
Immersion systems with integrated filter. Check drip-free filter removal in reviews.
Cold brew pitcher
Glass or plastic with built-in filter. Verify it fits your fridge configuration.
Mason jar cold brew filter
Low-cost entry point. Fits standard wide-mouth mason jars; easy cleanup.
Cold brew coffee maker
Immersion systems with integrated filter. Check drip-free filter removal in reviews.
Cold brew pitcher
Glass or plastic with built-in filter. Verify it fits your fridge configuration.
Mason jar cold brew filter
Low-cost entry point. Fits standard wide-mouth mason jars; easy cleanup.