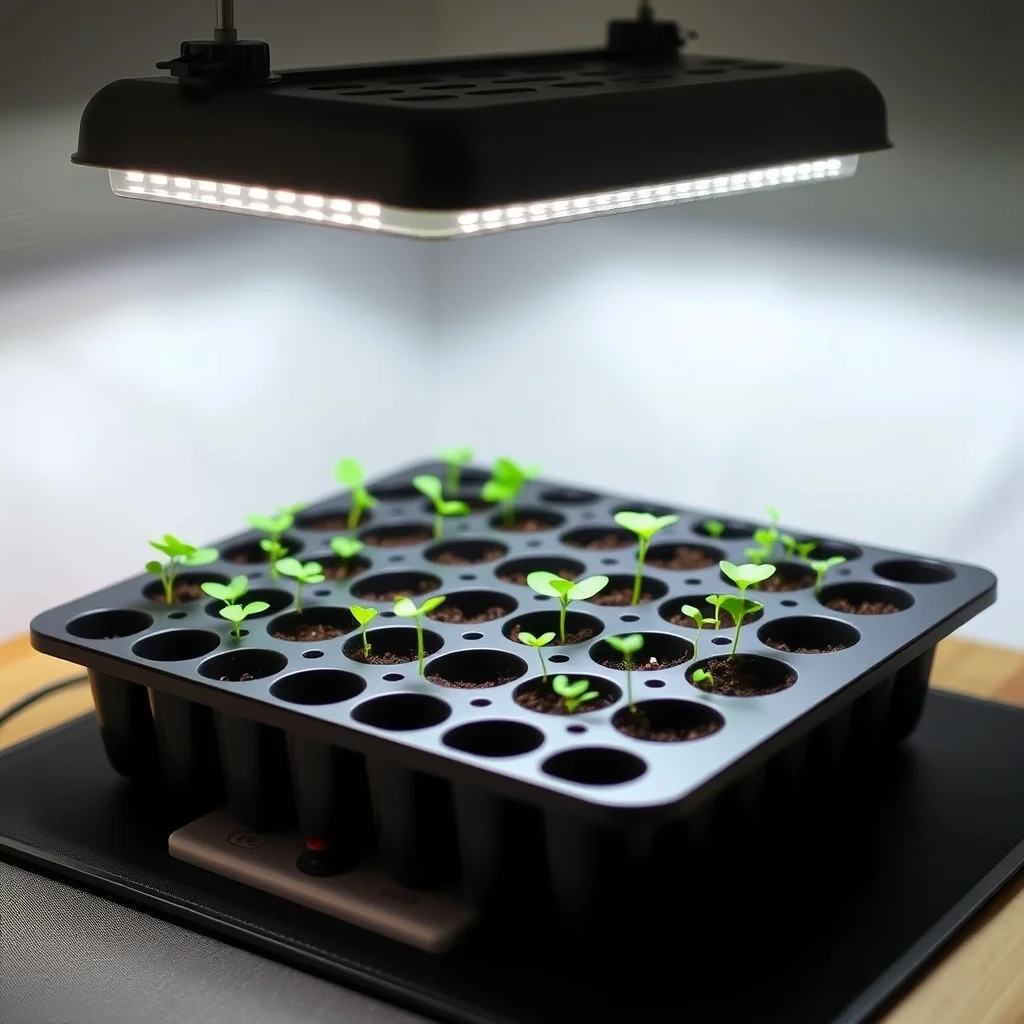
Trays and cell sizing
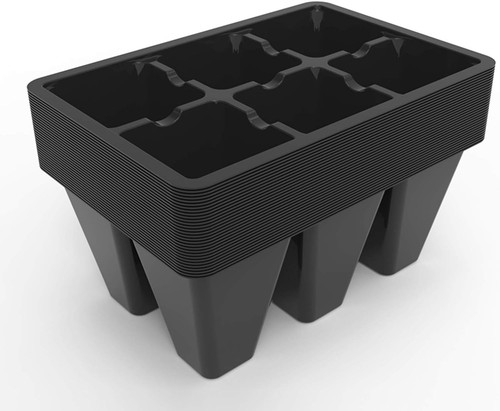
The standard seed starting tray system uses three components: a 1020 flat (10×20 inch solid-bottom tray used as a water reservoir and structural base), a cell insert that sits inside the flat, and a humidity dome that covers the assembly. The cell insert is the component to choose carefully by crop.
Cell count and volume
Cell count in a 1020 flat typically ranges from 18 cells (large, about 1 cup volume each) to 512 cells (very small, typically for plugs and microgreens). For most vegetable and flower seed starting, the practical range is 36 to 128 cells.
| Cell count | Approximate cell volume | Best for |
|---|---|---|
| 18–36 cell | Large (3–6 oz) | Cucumbers, squash, melons — crops that resent root disturbance and need to stay in cell longer |
| 72 cell | Medium (~1.5 oz) | Tomatoes, peppers, eggplant, brassicas — the most versatile general-purpose size |
| 128 cell | Small (~0.5–0.75 oz) | Lettuce, herbs, flowers — crops that germinate quickly and transplant before becoming root-bound |
| 200+ cell | Very small (plug size) | Onions, leeks, and bulk propagation — requires frequent watering and attentive care |
The practical rule: a cell that is too small causes the seedling to become root-bound before it can be transplanted outside. A cell that is too large holds excess moisture that the developing roots cannot draw from, increasing damping-off risk. The 72-cell is the most broadly useful size and a good default for a first season.
Material and durability
Cell inserts are sold in two quality tiers: thin single-use (often sold as disposable for one-season use) and thicker reusable. The thicker reusable inserts typically survive five or more seasons with careful cleaning. If you plan to start seeds regularly, the reusable investment pays off quickly. Look for inserts with a drainage hole at the bottom of each cell — this is standard but worth confirming on budget trays.
Grow lights: spectrum, intensity, and distance
Insufficient light is the most common cause of leggy, weak seedlings from an indoor setup. A south-facing window delivers inadequate photon flux for most vegetable seedlings in winter and early spring — the light is too low in intensity and the day is too short. Dedicated grow lighting solves this.
Spectrum considerations
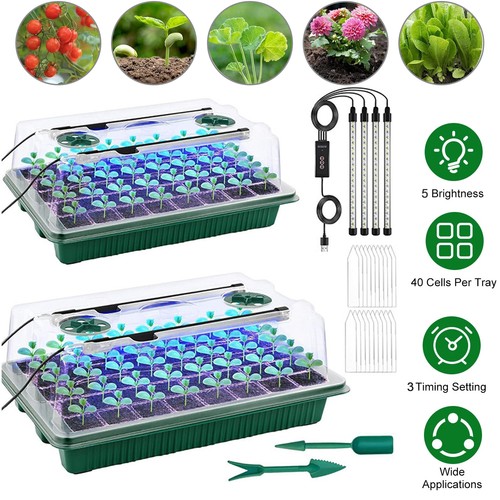
Seedlings need light across the full visible spectrum, with emphasis on blue wavelengths (400–500nm) for compact, sturdy stem development and red wavelengths (600–700nm) for photosynthesis efficiency. Full-spectrum LED panels that produce a balanced white light with peaks in both blue and red ranges work well for seed starting. "Blurple" LEDs (purple-tinted high-red/blue panels without green wavelengths) are effective but uncomfortable to work under; many growers prefer white-light panels for the same reason.
Light intensity: PPFD
Photosynthetic Photon Flux Density (PPFD), measured in µmol/m²/s, is the most useful metric for comparing grow lights. For seedling production, target PPFD of 200–400 µmol/m²/s at the canopy level. Vegetative growth benefits from 400–600 µmol/m²/s. Wattage alone is not a reliable comparison metric because efficiency varies significantly between LED designs.
Hanging distance and photoperiod
Most seedling LED panels should hang 6–12 inches above the tray surface for adequate PPFD delivery. Adjust distance based on growth response: leggy, stretched seedlings indicate insufficient light or excessive distance; bleached or pale newer leaves indicate excess intensity or insufficient distance. Run lights for 14–16 hours daily on a timer. A light timer is inexpensive and prevents the inconsistency of manual switching.
Shopping for seed starting gear? Browse current eBay listings → (we earn a small commission; your price is unchanged).
Heat mats: soil temperature for germination
Germination is primarily triggered by soil temperature, not air temperature. Most vegetable seeds have an optimal germination temperature range — many common crops germinate fastest at 70–85°F (21–29°C) soil temperature.
| Crop | Optimal soil temp for germination | Notes |
|---|---|---|
| Tomatoes | 70–85°F (21–29°C) | Germinates in 5–7 days at optimal temperature |
| Peppers and eggplant | 80–90°F (27–32°C) | Heat-demanding; slow at room temperature, benefits significantly from mat |
| Brassicas (cabbage, broccoli, kale) | 65–80°F (18–27°C) | Cool-weather crops, actually prefer cooler soil than peppers |
| Lettuce | 60–70°F (15–21°C) | Germination inhibited above 80°F — does not benefit from heat mat in warm rooms |
| Basil | 70–80°F (21–27°C) | Sensitive to cold soil; benefits from heat mat in cool environments |
A basic heat mat raises soil temperature roughly 10–20°F above ambient room temperature. If your starting room is 68°F (20°C), a mat without a thermostat will typically bring soil to 78–85°F, which works well for tomatoes and peppers. A thermostat controller allows precise temperature setting and prevents overheating — useful for crops with narrower optimal ranges or for mats used in warm rooms.
Humidity domes: when to use and when to remove
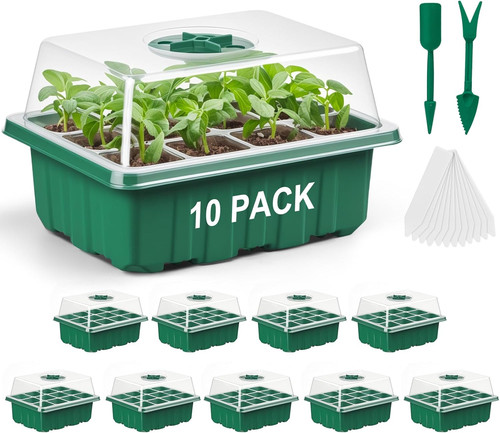
Humidity domes maintain elevated relative humidity around the tray surface, which prevents seed coats and germinating root tips from drying out before establishment. They are most useful during the germination phase — before seedlings emerge.
During germination
Keep the dome on from seeding until the majority of seedlings in the tray have emerged. The enclosed environment reduces the frequency of watering needed and maintains consistent moisture at the soil surface where seeds are germinating. Some growers crack the dome vents (if present) slightly during germination to prevent excessive condensation and fungal issues.
After germination
Remove or significantly vent the dome once seedlings emerge. Keeping seedlings enclosed under a dome after emergence encourages damping off — a fungal complex that causes stem rot at the soil line and kills seedlings rapidly. Once the dome is off, ensure adequate air circulation around the seedlings. A small fan on low setting running for a few hours daily strengthens stems and reduces fungal risk.
Dome height
Standard domes are 2–3 inches tall, which restricts use to early germination. Taller domes (6–7 inch height) accommodate seedlings for a longer period before removal becomes necessary, which is useful for crops with long indoor growing times like peppers and tomatoes when started many weeks before last frost.
Soil blocking: the alternative to cell trays
Soil blocking uses a specialized press tool to form uniform cubes of compressed growing medium. Seeds are pressed into a dimple in the top of each block. The blocks are placed on a flat surface with small gaps between them, eliminating the plastic cell structure entirely.
The advantage is air pruning: when roots reach the edge of a soil block and encounter air, they stop elongating and branch back, producing a denser root ball that transplants without disturbance. Traditional cell-grown seedlings that become root-bound develop circling roots that require breaking up at transplant time.
Soil blocking requires a different growing medium — standard potting mix does not compress adequately. The blocking medium typically contains a higher proportion of peat or coco coir to provide cohesion, plus compost and perlite. Pre-mixed soil blocker mixes are available, or you can mix your own following published formulas (Eliot Coleman's four-part blocking mix is widely referenced).
Potting mix for seed starting
Seed starting mix (also called germination mix or propagation mix) differs from standard potting mix in two ways: finer particle size (no chunky bark pieces that would prevent good seed-to-soil contact) and lower or no nutrient charge (seeds carry their own nutrition for the first week or two of growth, and excess fertilizer can inhibit germination or burn young roots).
Once seedlings develop their first true leaves — the set that appears after the seed leaves (cotyledons) — they begin drawing nutrients from the growing medium. At this stage, transitioning to a water-soluble fertilizer applied at low dilution every one to two weeks supports continued growth without burning young roots. Standard seed starting mix is nutritionally depleted enough that fertilization becomes necessary within two to three weeks of emergence.
 Seed starting trays
 Seedling grow lights
 Seedling heat mats
 Humidity domes