Kayak bracing: high brace vs low brace — when each one saves you
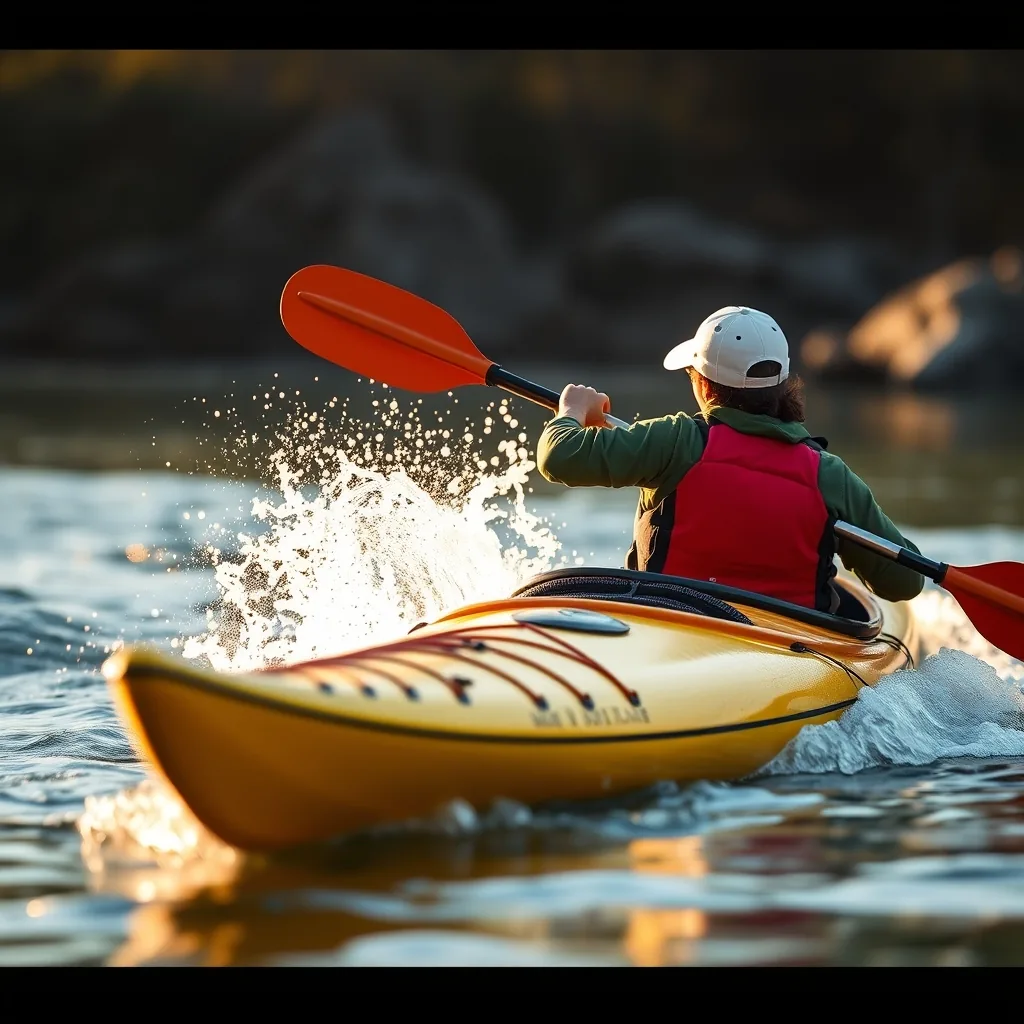
A brace is how you stop a capsize from completing. Learn both, but learn the low brace first — it's safer to practice, applies in more situations, and won't injure your shoulder the way a poorly executed high brace will.
What a brace actually does
When your kayak tilts past the point where your body weight alone can bring it back upright, you need an external force to stop the rotation. A brace gives you that force by pressing a paddle blade against the water surface, which provides resistance to push against while you snap your hips to right the boat.
The critical insight most beginners miss: the brace itself doesn't upright the kayak. Your hips do. The paddle blade gives you something to push against, but the actual righting motion comes from a hip snap — a sharp rotation of your lower body that flips the kayak beneath you while your upper body stays low over the water. If you brace correctly but don't hip snap, you'll still capsize. If you hip snap well but your brace is mediocre, you'll probably still recover. The hip snap is the skill; the brace is the platform.
This matters for how you practice. Don't spend all your practice time on paddle positioning. Spend it on hip snaps — starting in a pool while holding the pool edge, progressing to the paddle, finally to real conditions.
The low brace: your default defensive move
The low brace uses the back face of the paddle blade pressed down against the water surface while your elbows are raised above the paddle shaft. The paddle is held low — roughly waist to thigh height — and swung out to the side of the capsize, roughly perpendicular to the kayak.
The setup: When you feel the kayak tipping to one side, swing your paddle out to that side. The back face of the outboard blade should contact the water flatly — not at an angle, not slicing through. Flat contact gives maximum resistance. Your elbows stay high (above the shaft), which keeps your wrists and shoulders in a mechanically safe position throughout the move.
The execution: Press the blade down into the water and simultaneously snap your hips to bring the kayak upright beneath you. The blade press and the hip snap happen together — the blade gives you a platform, the hip snap does the work. As the kayak rights, slice the blade up and forward out of the water; leaving it flat as the boat comes up creates drag and a second tip. The whole sequence from "I'm tipping" to "I'm upright" takes less than a second in a skilled paddler.
Why to learn this first: The low brace is mechanically safer than the high brace. The paddle stays below shoulder level, which means even if you lean too hard on the blade, sink it too deep, or get your timing wrong, the forces are working down and away from your shoulder joint. The shoulder is in a safe position throughout. The high brace, done incorrectly, puts the shoulder in an abducted, externally rotated position — exactly where it's vulnerable to dislocation under load.
The low brace also works well in shallow water where there's not enough depth to get a blade under you at high angle. It works in chop and breaking waves where the blade contact is brief and uncertain. It's appropriate for the typical tip that catches recreational and touring paddlers off guard: a wave from the side, a lean caught too late, a momentary distraction.
The high brace: power and commitment
The high brace uses the power face (the concave face, the normal paddling face) of the blade, brought down onto the water from above, while your elbows stay below the paddle shaft. This gives the blade much more leverage — you're pulling the water down rather than pushing it, and the angle allows for a more aggressive purchase on the surface.
The setup: As the kayak tips toward a breaking wave or a steep edge, bring your paddle forward with the power face angled down toward the water on the downstream or falling side. Your elbows drop below the shaft — this is what distinguishes the high brace from the low brace structurally. The paddle is now above your head, which gives the move its name, but your elbows being below the shaft is the mechanical key.
The execution: Slap the power face onto the water surface and pull down while hip-snapping the kayak upright. The blade needs to land flat for maximum surface area. If the blade enters the water at an angle (diving under), you lose the surface resistance and the blade goes deep, giving you nothing to push off. In rough conditions, this means committing hard and fast — a tentative high brace in breaking water results in a blade that dives and a capsize that completes.
When to use it: The high brace is most useful when you're already well past vertical — perhaps 60–80 degrees over. At that angle, the low brace doesn't work because your paddle can't reach the water from below. The high brace works because the blade is coming down from above. It's also what you use when bracing on the downstream face of a wave that's actively breaking over you, or when you've been caught leaning into a fast ferry in moving water and the stern has swung downstream.
The high brace injury trap
The shoulder dislocation injury in kayaking almost always comes from a high brace with the elbows too high. When the elbows are raised above the paddle shaft, the shoulder is in maximum external rotation and abduction — the position where it has the least structural support. If the blade then sinks or slips, your body weight swings further over and the sudden load on the shoulder in that position is more than the joint can absorb.
This happens frequently at the moment paddlers think they're doing a high brace correctly but actually have their elbows drifting up. The difference between "elbows below the shaft" and "elbows above the shaft" is a few degrees of arm position and a complete change in shoulder vulnerability. The cue instructors use: imagine you're looking over a fence. Your elbows and wrists are below the top rail (the paddle shaft) and your eyes are looking over it. That's the elbow position you want.
The other injury point is a late, desperate high brace — the one thrown out at 90 degrees or more of tilt, when the paddler is almost entirely in the water. At that angle, the momentum of capsize has built significantly, and if the blade doesn't catch cleanly, the load on a shoulder in external rotation is very high. This is why experienced paddlers work on bracing earlier, proactively, rather than waiting until the capsize is nearly complete.
How to practice braces without drowning yourself
The correct learning sequence is not "practice braces in rough water until you get them right." It's structured progression through increasingly challenging situations, always with a wet exit and self-rescue as your fail-safe.
Step 1 — Hip snap on pool edge: Sit in your kayak next to the pool edge. Grip the edge, capsize to that side, and practice snapping your hips to right the boat while your head stays in the water and your hands just provide a point of contact. This isolates the hip snap from everything else. Do this until hip snapping is automatic — 15–20 repetitions per side.
Step 2 — Low brace in flat water: Practice in waist-deep calm water so a capsize doesn't require a swim. Start with the boat already at 45 degrees (someone holding it, or you doing a controlled lean) and practice the blade-contact-plus-hip-snap sequence from that setup angle. Then add the tip from upright.
Step 3 — Low brace in mild chop: Once the flat-water low brace is reliable — meaning it succeeds 9 out of 10 times — take it into mild chop. The unpredictable blade contact of chop is what makes bracing hard in real conditions. You can't rely on a perfectly flat surface, so you have to commit faster and harder.
Step 4 — High brace after low brace is solid: Only add the high brace once the low brace is reliable. Practice the high brace in the same pool-edge progression, paying deliberate attention to elbow position every single repetition.
Reading conditions to brace proactively
Expert paddlers rarely brace reactively. They brace proactively — edging the boat slightly into incoming waves, paddling forward to maintain momentum (which gives the kayak more directional stability), and positioning the paddle ready for a brace before the destabilizing force arrives rather than after.
In beam seas (waves hitting the side of the boat), the standard approach is to slightly edge the kayak into the waves — raising the downwind edge slightly — so the hull shape works with the wave rather than against it. This reduces the tendency to tip. When a wave breaks against the hull, the edge combined with a low brace on the upwind side (the side the wave is pushing you toward) gives you a stable platform through the break.
In moving water, brace opportunities are predictable if you're reading the river ahead. A hydraulic (a reversal feature at the base of a drop) will always push you downstream; the wave at its downstream edge will tip you upstream. A brace on the downstream side at that moment is not reactive — it's where you should already have your blade if you read the feature correctly.
Edge vs brace: when not to brace
A brace is an emergency measure. Experienced paddlers use edging — tilting the kayak deliberately using hip and leg pressure — to manage stability through conditions without ever needing a brace. When you edge a kayak, the hull shape changes: a rounded hull at a slight edge presents a more stable waterline to a beam wave. A flattened hull edge-on is more vulnerable.
Learning to edge confidently reduces how often you need to brace. If you're bracing frequently on water that experienced paddlers paddle without bracing, the real skill gap is edging, not brace execution. Practice controlled edges — taking the boat to 30, 45, and 60 degrees and holding each angle steadily — as a primary balance exercise, not just as a preliminary to brace practice. Better edge control is almost always the more efficient path to not capsizing.
Gear for skill-building on the water
Honest eBay picks. We earn a small commission on qualifying purchases — here's how that works.
 Spray skirt (neoprene)
Required for brace practice in real conditions. Neoprene holds better than nylon in breaking water. Match to your cockpit rim size.
Spray skirt (neoprene)
Required for brace practice in real conditions. Neoprene holds better than nylon in breaking water. Match to your cockpit rim size.
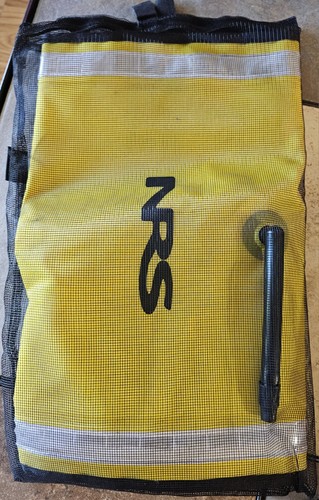 Paddle float
The self-rescue tool when a brace fails. Inflatable float slips over blade and makes a stabilizing outrigger for re-entry.
Paddle float
The self-rescue tool when a brace fails. Inflatable float slips over blade and makes a stabilizing outrigger for re-entry.
 Lightweight paddle (carbon/fiberglass)
A lighter paddle moves faster to a brace. Werner and Aqua-Bound are the standard references. Fiberglass over carbon for most paddlers.
Lightweight paddle (carbon/fiberglass)
A lighter paddle moves faster to a brace. Werner and Aqua-Bound are the standard references. Fiberglass over carbon for most paddlers.
 Wetsuit (for cold-water practice)
Brace practice means wet exits. A 3mm wetsuit removes the cold-water panic response that ruins technique.
Wetsuit (for cold-water practice)
Brace practice means wet exits. A 3mm wetsuit removes the cold-water panic response that ruins technique.
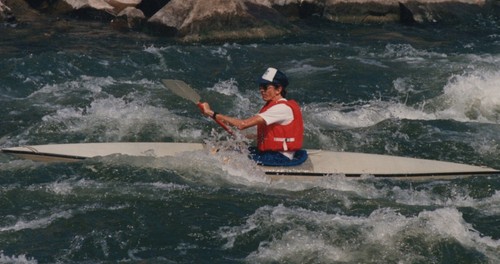 Kayak helmet (for moving water)
Required in any moving water where rocks are possible. Shred Ready and Sweet Protection are reliable options.
Kayak helmet (for moving water)
Required in any moving water where rocks are possible. Shred Ready and Sweet Protection are reliable options.