Forge welding heat: sparkler vs sticky, and why mild steel welds easier than high-carbon
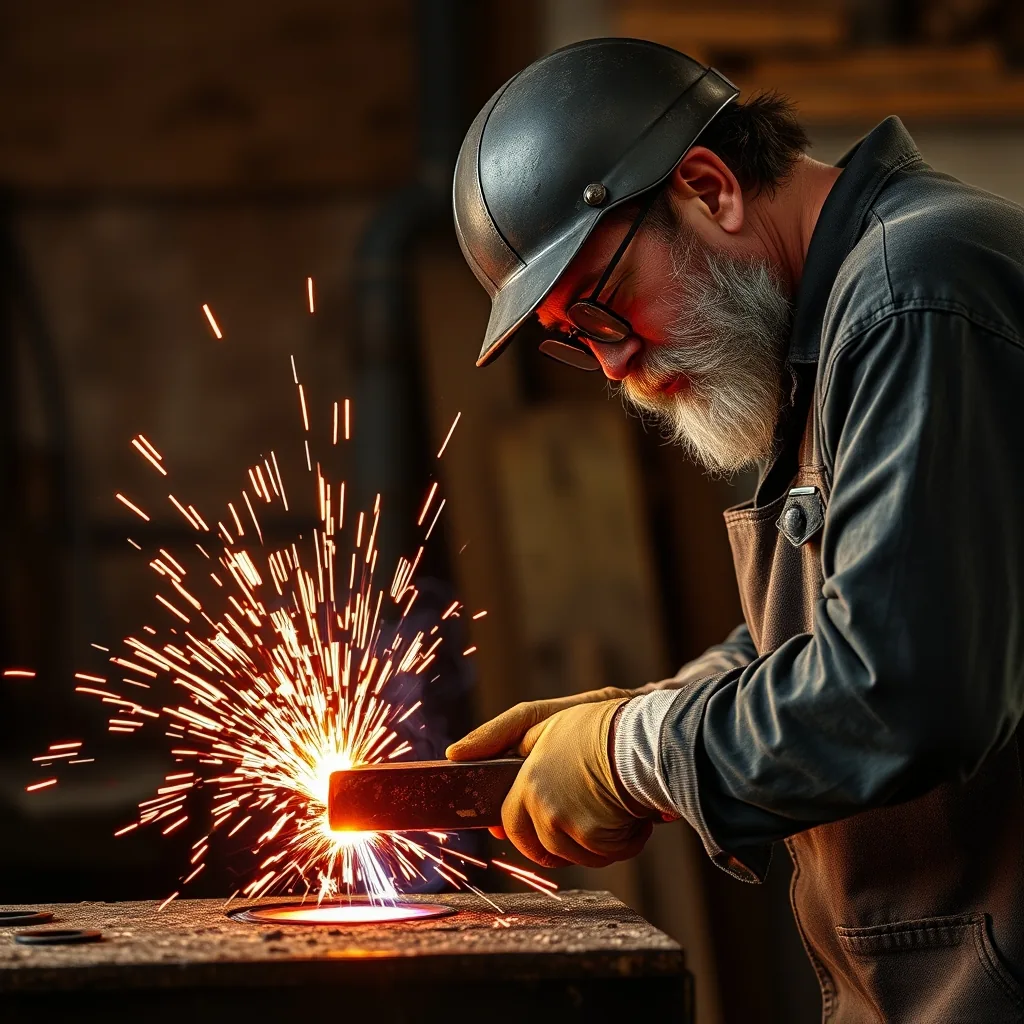
Forge welding is the oldest joining process in metalworking — no filler metal, no shielding gas, just heat and a hammer. The problem most beginners have isn't technique. It's not knowing what the right heat actually looks like.
What forge welding is (and isn't)
In a forge weld, two pieces of steel are heated to a temperature at which the surface becomes plastic and slightly liquid — not molten, but on the boundary — then hammered together hard enough that the molecules at the interface bond. The result is a single piece of steel with no filler layer and no heat-affected zone in the arc-welding sense.
Forge welding does not require any specialized power equipment. It requires a forge that can reach welding temperature, an anvil, a hammer, and timing. The skill is almost entirely in reading heat and moving fast.
The full color progression of forge heat
Steel changes color as it heats, and learning to read those colors in your specific forge with your specific fuel source is the foundational skill. Colors look different under bright ambient light than in a dim shop — most experienced smiths prefer low-light conditions for heat reading. Approximate temperatures below are for reference; your eye calibrated in your shop is more accurate than any table.
| Color | Approximate temp (°F) | Working notes |
|---|---|---|
| Black heat | Below 900°F | No visible glow; dangerously hot to touch |
| Faint red (visible in dim light only) | 900–1,100°F | Steel barely moves; very heavy hammer work |
| Cherry red | 1,300–1,400°F | Forging begins; steel moves with effort |
| Bright cherry / orange-red | 1,500–1,700°F | Primary forging range; steel flows freely |
| Yellow-orange | 1,800–1,950°F | Upper forging range; steel very plastic |
| Sticky / welding heat | 2,100–2,300°F | Surface looks wet, shimmering; welding zone begins |
| Sparkler heat | 2,300°F+ | Burning sparks shower from surface; burning metal |
What "sparkler heat" actually means
Sparks showering from forge-heated steel are iron oxide particles igniting — you are watching the surface of the metal burn. Specifically, you are watching carbon and iron oxidize and fly off the piece as combustion products.
A light sparkle right at the welding threshold is acceptable for mild steel — it tells you the steel is at or near the upper end of the welding window, and you should pull and weld immediately. What it does not tell you is that you are at the optimal temperature; it tells you you are at the ceiling.
Heavy continuous sparking means you have crossed the threshold and are burning the steel. The surface layer is being decarburized — carbon is leaving the steel — and the outer layer now has a different composition than the interior. A weld attempted at heavy-sparkler heat will either fail to bond properly or will bond with a weak, brittle decarburized zone at the interface. You cannot fix this by hammering harder. The piece needs to be ground back to clean metal, or the error carried forward into a weaker finished product.
What "sticky heat" actually feels like
At welding temperature, the iron oxide scale that forms on the surface of the steel becomes fluid rather than solid. When you bring two surfaces together at this temperature, the molten scale flows, the metal-to-metal contact is made, and the two surfaces adhere. This is what smiths describe as "sticky."
The first physical sign: when you touch the flat of your tongs to the steel at sticky heat, there is brief resistance when you pull them away. The second sign: the surface appears wet — not orange-bright like upper forging temperature, but bright and slightly fluid-looking, almost mirror-like in small patches.
Floor: approximately 2,100°F — below this, surfaces touch but don't bond
Ceiling: approximately 2,300°F — above this, burning begins
Working window: roughly 200°F, or about 30–60 seconds pull-to-hammer in a well-tuned forge
Why mild steel welds easier than high-carbon
High-carbon steel (above about 0.5% carbon, including tool steels like 1084, 1095, W2, and O1) has a significantly narrower forge welding window than mild steel for three compounding reasons.
1. The burning threshold is lower
High-carbon steel begins sparking at temperatures between 2,000°F and 2,100°F — 200–300°F lower than mild steel. The welding range still begins around 1,950–2,050°F, but the ceiling before burning is much closer. In a hot forge, the difference between "ready to weld" and "burning" may be a matter of 20–30 seconds. Mild steel gives you 200°F of window; many high-carbon alloys give you 75–100°F.
2. High-carbon steel scales faster at high heat
Scale — the layer of iron oxide that forms on steel surfaces exposed to air at high temperatures — develops more aggressively on high-carbon steel. Scale is an insulator between the two weld surfaces. If scale forms and solidifies between passes, it prevents metal-to-metal contact and the weld fails, leaving a dark inclusion layer (a "cold shut"). Flux is almost always required for high-carbon welds.
3. Decarburization consequences are more severe
When you burn surface carbon out of mild steel, the outer layer loses some strength but remains structurally similar to the interior. When you burn surface carbon out of high-carbon steel — say, 1084 — the decarburized layer is now essentially mild steel, with different hardening response and different thermal expansion properties than the 1084 core. In a finished blade or tool, a decarburized weld zone can crack or delaminate under use even if the visual weld looked solid. The failure mode is delayed and difficult to diagnose.
Flux: what it does and when you need it
Flux serves one purpose: it dissolves and prevents the iron oxide scale that forms on steel surfaces at welding temperature. Without flux, a brief oxidizing hesitation between forge heats can deposit a scale layer that blocks bonding. With flux, the scale dissolves into the liquid flux and is displaced when the hammer blow arrives.
Standard flux for most blacksmithing work is anhydrous borax — available as a cleaning agent (20 Mule Team Borax) or as commercial blacksmithing flux. Commercial welding fluxes often contain iron powder or fluorite to extend the working range and reduce oxidation more aggressively.
Application: bring the steel to bright orange heat (just below welding), pull it from the forge, apply flux powder or paste directly to the weld area, and return to the forge immediately. The flux will bubble and foam as it reaches temperature — normal. When it goes clear, still, and liquid on the surface, you are approaching welding heat.
When flux is optional:
- Mild steel in a clean propane forge running a slightly reducing (fuel-rich) atmosphere, for quick single-heat welds where both surfaces are clean and the timing is fast
When flux is required:
- All high-carbon steel
- Mild steel in a coal forge (sulfur in coal produces more aggressive oxidation)
- Any weld requiring multiple heats to complete
- Any Damascus or pattern-welded billet (the scale buildup between layers needs continuous flux management)
Forge atmosphere: oxidizing vs reducing
In a propane forge, the ratio of fuel to air determines whether the internal atmosphere causes or prevents scale formation. An oxidizing atmosphere (too much air, blue-white flame) aggressively scales steel at welding temperatures, narrowing your effective window. A slightly reducing atmosphere (just fuel-rich, with a soft orange-yellow flame interior) slows scale formation and gives you more time.
To tune: adjust the propane regulator and air choke until the forge interior shows a slightly orange-tinged flame rather than sharp blue-white. You will see steel pulled at the same temperature hold its surface finish slightly better and take longer to scale. For forge welding, a reducing atmosphere is the correct setting.
The timing problem: forge to anvil
The welding window closes as soon as the steel leaves the forge. Thermal losses through radiation and contact with the anvil reduce surface temperature rapidly. At 2,100°F+, the steel is cooling at 100–200°F per second in open air.
Practice drill before attempting any actual weld: run the steel to welding heat 20 times. Pull it, move to the anvil, land a blow. Your goal is to put the first blow on the steel within 3–5 seconds of pulling it. 10 seconds is too slow. 7 seconds is borderline. Get this down to a single rehearsed motion — not a walk, a pivot — before the piece matters.
Common forge welding failures
Cold weld (joins but separates on the next blow)
The steel was below the bonding threshold when you struck. The surfaces may have touched but the atoms didn't exchange across the interface. Recovery: reheat with flux, try again on the next heat — the surfaces are still clean enough to bond if you move faster this time.
Burned weld (heavy sparking, weak bond, possible voids)
The steel exceeded the burning threshold before you landed the blow. Surface carbon burned off and the outer layer is now decarburized. Mild steel: if sparking was light, the weld may still be serviceable — test it under load before trusting it. Heavy burning: grind back to clean metal and start over.
Scale inclusion (holds initially, fails or delaminates later)
The weld surfaces were contaminated with solid scale when you landed the first blow, and the scale is now trapped inside the joint. Prevention: the first hammer blow must be hard and centered — its purpose is to drive the flux and scale outward from the joint before consolidating the bond. A tentative first blow causes exactly this failure.
Off-angle blow (surfaces slide instead of bonding)
The first hammer blow should be perpendicular to the weld surface, driving both pieces together. Any angle causes the softened surfaces to shear relative to each other. At welding temperature, mild steel moves easily — an off-angle blow at 2,200°F can shift your work 1/4 inch and destroy the joint alignment.
High-carbon welding: the practical progression
Do not attempt your first high-carbon forge weld until you can consistently weld mild steel. The feel of sticky heat is the same — wet, bright, slightly fluid-looking surface. The difference is how much less time you have.
1084 is the most forgiving high-carbon tool steel for forge welding — its carbon content (0.84%) gives it good welding response without the tightest window. 1095 and W2 are slightly more demanding. Stainless-containing alloys generally cannot be forge welded without specialized equipment and atmosphere control.
For your first high-carbon welds: use flux from the start, tune the forge to a reducing atmosphere, and plan for multiple heats on the consolidation pass rather than trying to close the joint in one. A failed weld that gets reheated and welded correctly on the next heat almost always holds. A burned weld may never clean up without grinding.
Gear for forge welding
Smart eBay searches we'd start with ourselves. Affiliate links — same price for you, small commission for this site. Full disclosure.
 Blacksmithing flux (anhydrous borax)
Anhydrous borax is the standard flux for forge welding. Buy it in 5 lb bags — it's inexpensive and used in quantity. Commercial blacksmithing fluxes add iron powder for harder-to-weld alloys.
Blacksmithing flux (anhydrous borax)
Anhydrous borax is the standard flux for forge welding. Buy it in 5 lb bags — it's inexpensive and used in quantity. Commercial blacksmithing fluxes add iron powder for harder-to-weld alloys.
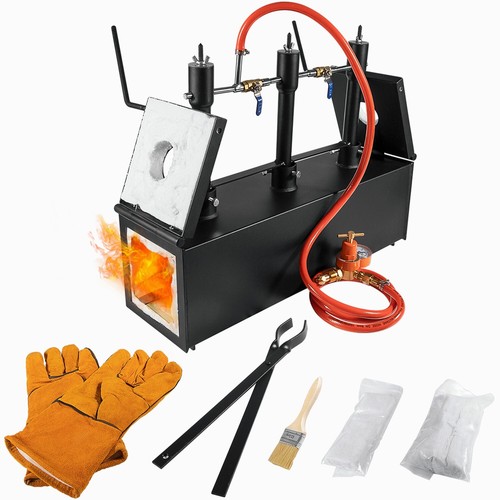 Propane forge (2-burner)
A 2-burner propane forge reaches welding temperature (2,300°F+) reliably and gives you better atmosphere control than single-burner. NC Tool and Hell's Forge are proven in home shops.
Propane forge (2-burner)
A 2-burner propane forge reaches welding temperature (2,300°F+) reliably and gives you better atmosphere control than single-burner. NC Tool and Hell's Forge are proven in home shops.
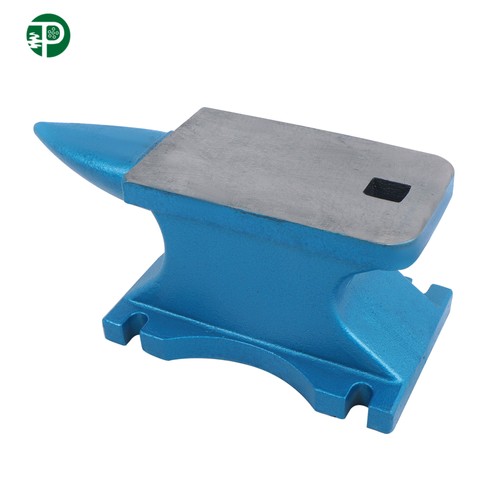 Anvil (150–200 lb cast steel)
A heavier anvil wastes less energy at welding-temperature strikes. For forge welding, 150 lb+ is the practical minimum. Cast steel holds up far better than cast iron at impact loads.
Anvil (150–200 lb cast steel)
A heavier anvil wastes less energy at welding-temperature strikes. For forge welding, 150 lb+ is the practical minimum. Cast steel holds up far better than cast iron at impact loads.
 Hammer (2.5–3 lb cross peen)
Forge welding requires a decisive first strike. A 2.5–3 lb cross peen gives enough mass for a clean consolidation blow without fatigue during repeated heats. Octagonal handles reduce roll.
Hammer (2.5–3 lb cross peen)
Forge welding requires a decisive first strike. A 2.5–3 lb cross peen gives enough mass for a clean consolidation blow without fatigue during repeated heats. Octagonal handles reduce roll.
 Flat-jaw and v-bit tongs
Tongs that grip the workpiece firmly without wobble matter more at welding temperature than at normal forging heat. Loose tongs waste the 3–5 second window between forge and anvil.
Flat-jaw and v-bit tongs
Tongs that grip the workpiece firmly without wobble matter more at welding temperature than at normal forging heat. Loose tongs waste the 3–5 second window between forge and anvil.