How to season green wood for turning without checking and cracking
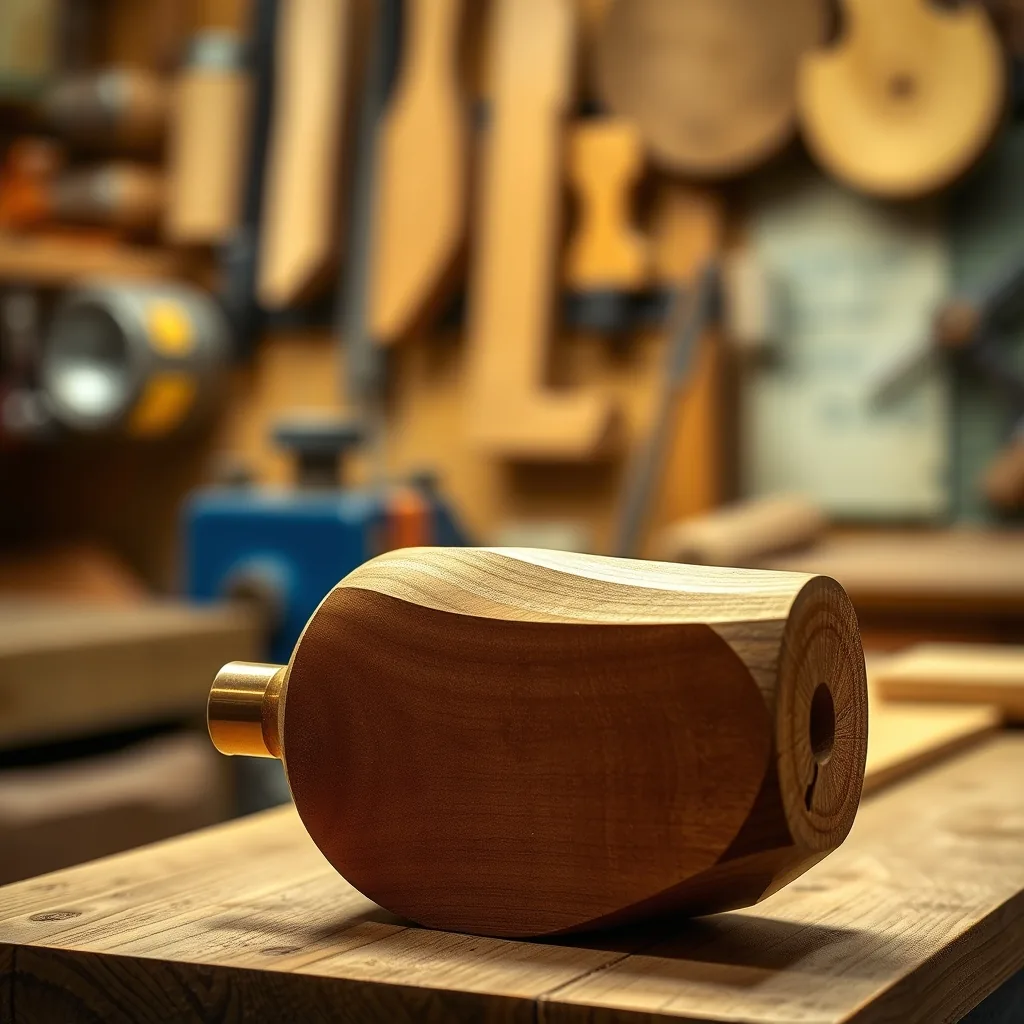
Green wood blanks crack because they dry faster on the outside than inside, and the tension tears them apart. Control the differential drying rate and most blanks survive. There are two reliable methods and one common mistake that wastes good wood.
Every turner who works with locally sourced wood — storm-downed trees, mill ends, firewood rounds — faces the same problem: you have beautiful wood right now, but green wood moves as it dries, often dramatically, and if you're not careful it splits into unusable pieces before you ever mount it on the lathe.
The checking and cracking that ruins blanks comes from the outside surface drying faster than the core. The outer wood shrinks; the inner wood doesn't; the tension eventually exceeds the wood's tensile strength and it splits — usually radially, from the center outward, following the grain. The fix is to slow down and even out the drying process.
Why wood checks the way it does
Wood shrinks primarily in the tangential direction (around the rings) as it dries — roughly twice as much as it shrinks radially (toward the center). This unequal shrinkage is why quartersawn lumber moves less than flatsawn, and why round bowl blanks often develop radial cracks.
The end grain of a blank dries 10–15 times faster than the face grain. This is why end-grain sealing is the single highest-leverage intervention: the end grain acts like a straw, wicking moisture out of the blank at a rate that the rest of the wood can't match. Seal it and you eliminate the fastest pathway for moisture to escape.
Method 1: End-seal and slow-dry the blank whole
This method works well for smaller blanks (under 6–8 inches diameter) and for species with relatively stable drying characteristics like cherry, walnut, ash, and most fruitwoods.
Step 1: Cut and seal within hours of felling
Green wood starts drying immediately after the tree is cut. The sooner you seal the end grain, the less checking you'll get. If you're processing a tree, cut your blanks to rough size (bowl blank, spindle blank, etc.) and coat all end-grain surfaces with a wax emulsion sealer within a few hours. Anchorseal is the industry standard — brush it on thick, one coat. Elmers glue diluted 50/50 with water works almost as well at a fraction of the cost. Latex paint (exterior) also works.
The goal is to slow moisture release from the end grain to approximately the same rate as the face grain. The wax or latex creates a vapor-resistant barrier. It doesn't stop drying, it just slows and evens it.
Step 2: Store in a cool, dim location with airflow
Avoid direct sun and heat. A garage shelf, barn loft, or shaded outdoor rack all work. Airflow matters — stagnant humid air around a blank slows surface drying to almost nothing while the interior continues to dry via capillary action, which creates the same differential you're trying to avoid. Stack blanks with spacers between them if you have multiple pieces.
Step 3: Re-coat sealed ends if they crack
Check blanks every 2–4 weeks in the first few months. Small surface checks that don't penetrate deeply are normal. If you see checks at the ends progressing inward, add another coat of sealer. A crack that reaches halfway through a blank is usually a loss; a crack 1/4 inch deep in a large blank often turns away cleanly.
Drying timeline
| Blank size | Approximate drying time |
|---|---|
| 3–4" diameter bowl blank | 6–12 months |
| 6–8" diameter bowl blank | 1–2 years |
| 10–14" diameter bowl blank | 2–4 years |
| Spindle blank (2" square) | 3–6 months |
The traditional rule is one year per inch of thickness. That's slightly conservative for small blanks with good sealing and slightly optimistic for large-diameter pieces with irregular cross-sections. Use a moisture meter to confirm — target 6–8% moisture content for interior use, 9–12% for pieces that will live in a garage or workshop space.
Method 2: Rough-turn, then dry, then finish-turn
This is the method most production turners use for larger blanks, and it's much more reliable than trying to dry whole blanks. The logic: turn the green blank to a uniform wall thickness, which dries quickly and evenly because there's no thick mass in the center to lag behind the outside.
Why this works
A solid 10-inch blank of green cherry might take 3 years to dry without cracking. The same cherry rough-turned to a 1-inch wall will dry in 3–6 months with minimal checking. The physics: the thinner the wall, the less differential between inside and outside moisture content at any given time, which means less stress and almost no cracking.
The rough-turning process
Mount the green blank and turn it to your intended finished form, but leave the wall thickness at approximately 10% of the diameter. A 10-inch bowl gets walls roughly 1 inch thick. An 8-inch bowl, walls about 3/4 inch. The floor of the bowl (the base) should also be left at roughly this thickness — thick floors crack too.
Don't try for final surface quality at this stage. You're just removing mass to create a uniform shape that will dry predictably. Leave the exterior a little rough — the tool marks don't matter since you're turning it again.
Sealing the rough-turned piece
After rough-turning, coat the entire piece — face grain and end grain — with Anchorseal or diluted PVA. The end grain is now cut all around the bowl rim and across the base, so the same sealing principle applies. Let it dry on a rack with airflow; the sealed surface will feel dry to the touch within a day or two but the interior is still wet.
Drying timeline for rough-turned pieces
A rough-turned bowl with 1-inch walls dries in about 4–6 weeks at room temperature for small species like cherry and maple. Denser, wetter species (osage orange, black locust, freshly felled oak) take longer. Monitor weight — a piece that's no longer losing weight week to week has equalized with its environment.
Finish-turning the dried piece
After drying, the rough-turned blank will have moved. It will be oval instead of round, and the walls will be thicker in some spots than others (because wood doesn't shrink uniformly). This is normal and expected. Re-mount the blank and true it up on the lathe — this usually takes off 1/8 to 1/4 inch — then finish-turn to your final wall thickness. The dried wood will cut cleanly and hold dimensional stability.
Species-specific notes
Easy species (stable drying, few problems)
- Cherry: Dries well either method. Moves predictably. One of the most forgiving green woods.
- Ash: Open grain helps equalize moisture. Dries faster than many hardwoods.
- Walnut: Dense but stable. The heartwood/sapwood contrast that develops during drying can be a feature.
- Fruitwoods (apple, pear, plum): Usually cooperative if sealed promptly. Small-diameter blanks do well whole.
Challenging species (rough-turn method strongly recommended)
- Oak: High tannin content and dramatic shrinkage make whole-blank drying very risky above 4 inches diameter. Rough-turn everything.
- Elm: Interlocked grain makes it beautiful and difficult. Very prone to checking. Rough-turn and seal heavily.
- Box elder: Wets and dries unevenly, especially around the red staining. Use rough-turn method; expect some losses.
- Spalted wood: Already partially decomposed, which disrupts normal moisture movement. Can behave unpredictably. Seal aggressively; rough-turn if large.
Accelerated drying with a microwave
Small blanks (under 6 inches, walls under 1 inch) can be dried in a microwave on low power — this is a legitimate technique, not folk advice. The goal is gentle, even heating that drives off moisture without creating steam fast enough to cause checking. The method: 2 minutes on low (30% power), rest 30 minutes, repeat. Weigh the blank before each cycle; when it stops losing weight, it's at equilibrium.
This only works for small pieces. Larger blanks develop uneven heating zones in a microwave that cause more problems than they solve. Don't try to rush a 10-inch blank through a microwave.
Knowing when it's ready to finish-turn
The most reliable test is a moisture meter. Woodturning applications typically want 6–8% MC for interior pieces. Second best: weigh the blank weekly. A piece that's no longer losing weight has reached equilibrium with its environment. Third: if you drill a small test hole in the bottom and the shavings feel warm and damp on your hand, it's not ready. Dry shavings that feel like paper are a good sign.
Visit the woodworking shop tools and guides for board feet calculators, lumber cost estimators, and finishing guides.
Gear actually worth buying
Smart eBay searches we'd start with ourselves. We earn a small commission on qualifying sales through these links; the price you pay is the same. Full disclosure.
 Anchorseal end grain sealerThe industry-standard wax emulsion for sealing green wood. Brush on thick. Available in gallon jugs at most woodworking suppliers and eBay.
 Pin-type moisture meterNon-negotiable for knowing when a blank is actually ready to turn. The pin-type reads accurately for woodturning blanks; pinless meters are less reliable on small pieces.
 Bowl gouge (HSS)A 1/2" or 5/8" bowl gouge in M2 or M42 high-speed steel. Green wood cuts easily with sharp tools; rough-turning generates significant shaving volume so a robust gouge matters.
Full face shieldGreen turning throws wet shavings and the occasional chunk. Safety glasses are not adequate. A full face shield is non-negotiable for bowl turning.
Bowl gouge (HSS)A 1/2" or 5/8" bowl gouge in M2 or M42 high-speed steel. Green wood cuts easily with sharp tools; rough-turning generates significant shaving volume so a robust gouge matters.
Full face shieldGreen turning throws wet shavings and the occasional chunk. Safety glasses are not adequate. A full face shield is non-negotiable for bowl turning.
 4-jaw scroll chuckFor re-chucking rough-turned dried blanks that are now oval. A 4-jaw chuck grips the tenon reliably even after the blank has moved. PSI, Nova, and Oneway are the reliable names.